Your Fireplace Accessories and Chimney Caps Headquarters
Have any questions about your fireplace or chimney or fire pit? We are your source for accurate information and answers to your questions about chimney caps, fireplaces and their accessories, and fire pits.
Prepare Your Fireplace and Chimney for Cold Weather
As cold weather settles in, are you prepared to make the most of your fireplace and chimneys? These tips from FireplaceMall.com will will set you up for chilly days and fire-season success:
- When should your fireplace damper be open? And when should it be closed?
- Also find out how to open and close your damper.
- Learn what to do to fix a stuck damper.
Christmas Fireplace Safety
Use the Christmas Fireplace Safety Checklist below to keep your family safe around the fireplace during the winter holidays.
In the famous Christmas poem, the stockings were not just “hung by the chimney;” they were hung “with care.” Even in the midst of describing a nocturnal visit from Santa, the author noted one important aspect of Christmas fireplace safety!
Does your fireplace warm the cockles of your heart but leave your toes cold? With some modifications, your fireplace can become a legitimate heat source for your house and ensure your toes stay nice and toasty. Read on to learn how to get more heat from your fireplace.


New to the world of wood burning fireplaces? Is this your first winter with a new fireplace? Or have you recently acquired the role of Chief Fire Builder in your home?
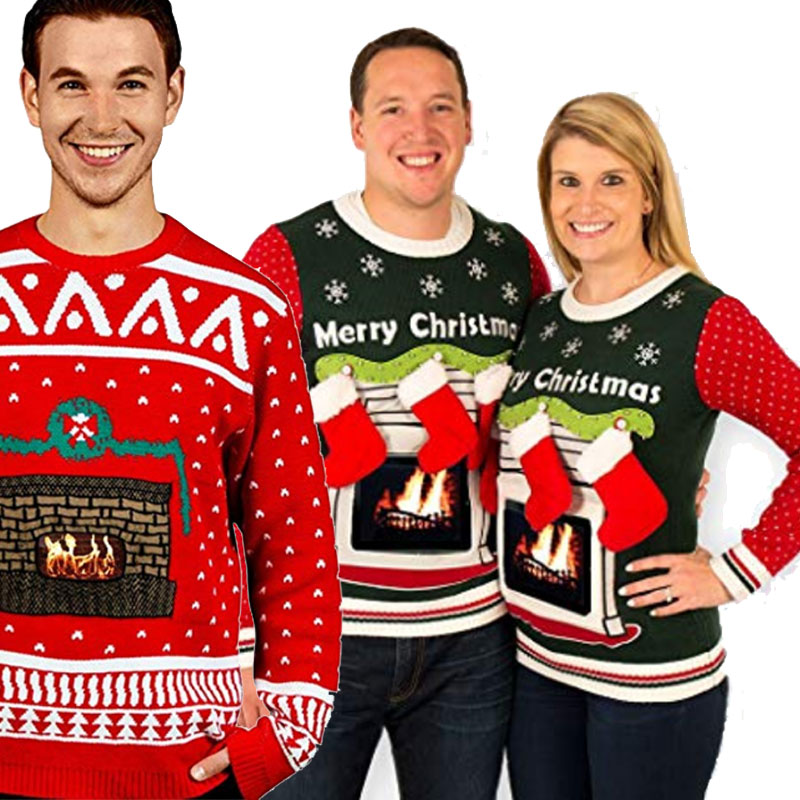
Ugly Christmas sweater party on your calendar? Or looking for a unique and fun way to celebrate the holidays? Maybe you enjoy keeping your friends and coworkers entertained. Fireplace sweaters let you take the hearth glow wherever you go. So light up that Ugly Christmas Sweater Party or a cozy night in with bright dancing […]
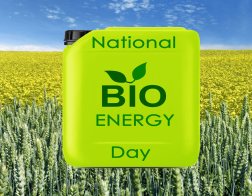
The United States celebrates National Bioenergy Day each October. It recognizes and encourages the use of renewable and sustainable bioenergy sources. In 2021, National Bioenergy Day is October 20. When any organic material with few or no productive applications is used to generate energy, we call it “bioenergy.” The biomass can be any organic low […]
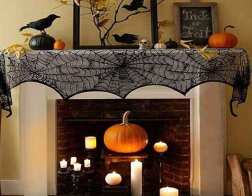
A Halloween fireplace mantel scarf is the fabric drape that covers the top of the mantel. It provides the foundation upon which a Halloween themed mantel is created. The mantel scarf is to a fireplace mantel like a tablecloth is to a dining table: It sets the color scheme and theme. You can find a […]
