by Monte
Share
by Monte
Share

How to Install Multi Flue Chimney Cap or Caps
to the Top Cement Crown of a Chimney:
If you are installing a top mount or multi flue chimney cap,
•First assemble the four sides.
•Second, attach the top lid to the chimney cap.
•And finally, affix your chimney cap to the chimney.
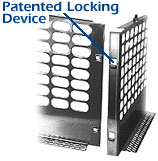 Some brands of top-mount chimney caps have sides that join with a simple hinge-and pin, others have sides that assemble with an easy, tool-free locking system, and still other join with nuts and bolts.
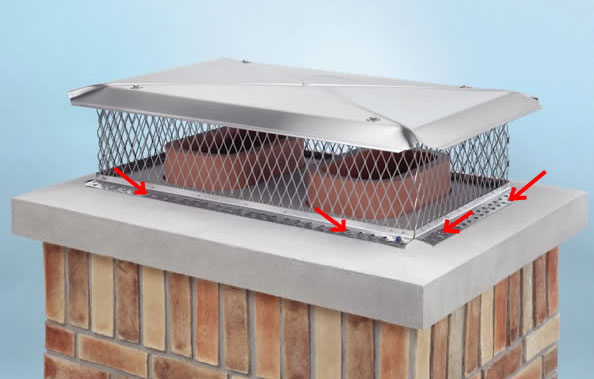
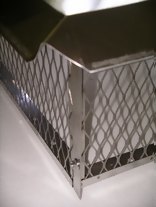
Along the bottom of each of the four chimney cap sides are the flanges that actually attach to the top crown of your chimney.
You can use either construction adhesive or Tapcon screws (masonry anchors) and bits to attach the flanges to the chimney. Some chimney cap manufacturers provide you with either the adhesive or the Tapcons when you buy your chimney cap.
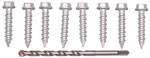 One way to attach top mount chimney caps is with a Tapcon masonry drill bit and screws |
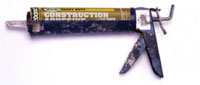 Another way to install multi flue chimney cap is with adhesive and a caulking gun. |
To Install Multi Flue Chimney Cap or Caps with Adhesive
To use the construction adhesive to install a top mount or multi flue chimney cap,
- place the chimney cap where you want it to be on your chimney crown (the concrete area surrounding the flue or flues) and bend the flange around the bottom of the chimney cap so that it conforms to the chimney crown.
- Draw a line around the perimeter of the flange.
- Now, use your caulking gun to lay a 3/8 inch thick bead of just inside the line. Leave 1/4 inch gaps in the adhesive bead at each corner of the chimney cap. Move the caulking gun from side to side as you draw it along making a wavy line about an inch wide from edge to edge, not a tight zig-zag.
- Press the flange of the chimney cap down into the bead of adhesive.
If you wish, you can use a putty knife to smooth the adhesive that oozes through the holes in the flange, but this is not necessary.
To Install Multi Flue Chimney Cap or Caps with Tapcon Masonry Anchors
To install a top mount chimney cap with Tapcon masonry anchors, you will need to buy a 3/16″ masonry bit and enough Tapcon screws to mount your chimney cap if the manufacturer has not provided them with your chimney cap. Choose screws that are ¼”diameter and 1 ½” or 1 ¾” long. You will need enough screws to place one every running foot around your chimney cap, but at least one on each side. For example, if your chimney cap is 17 by 24 inches, use one screw in the middle of each 17 inch side, a screw at each end of each 24 inch side, and one in the middle of each 24 inch side.
To install,
- position the chimney cap where you want it to be on the chimney crown and conform the flange to the chimney crown.
- Holding the chimney cap firmly in place, drill through the predrilled holes in the flanges and into the chimney crown with the 3/16″ masonry bit. As you drill each hole, partially tighten a screw in it to hold the chimney cap in position.
- Then, finish tightening all the screws.
 Some top mount, multi flue chimney caps can be assembled with their flanges facing inside of the screen box. If you have selected this mounting technique, simply remove the lid to screw in the Tapcons and then replace it.
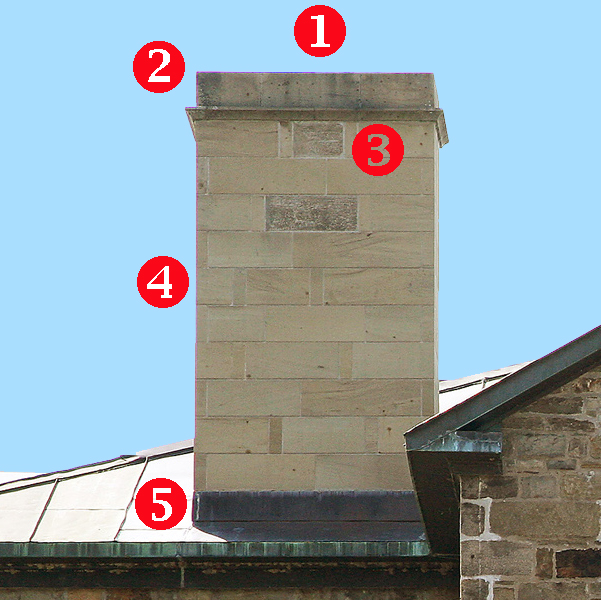
5 Ways to Prevent Chimney Leaks A leaking pipe, a leaking roof, a leaking window, a leaking chimney – none of them is good. Here are 5 ways make your chimney leak-proof and prevent chimney leaks. See how to fix chimney leaks and prevent them in, through and around your chimney. #1 Way to Prevent Chimney Leaks: Install a […]

When is a headache, nausea, and fatigue not “just the flu” and, instead, carbon monoxide poisoning? And how can you prevent carbon monoxide poisoning in your home? Every year 20,000 Americans are treated in emergency rooms for carbon monoxide poisoning. But many of those at first thought they were dealing with a run-of-the-mill bug. Those […]
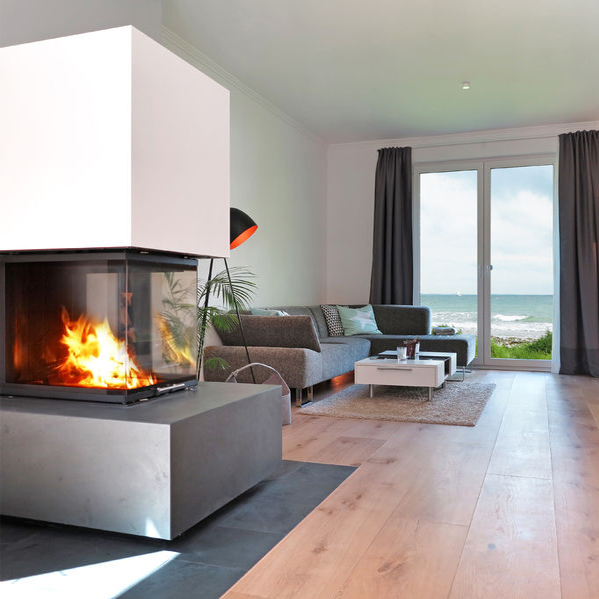
Which of these summer fireplace myths do you believe? Learn the facts that might surprise you about fireplaces in summertime. Summer Fireplace Myth #1: Since you won’t be burning a fire in hot weather, your fireplace will have to suffer from Black Hole Syndrome. A fireplace candelabra brings the tiny fires of candlelight to your fireplace without […]
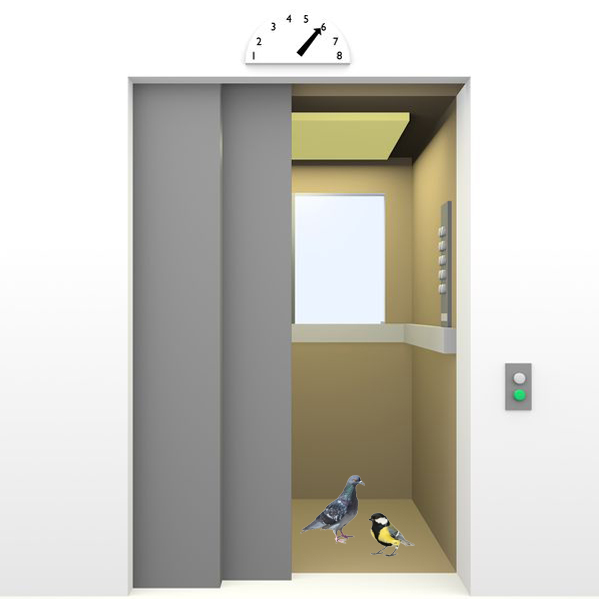
Some people find a bird stuck in their chimney or fireplace and panic. Others search for a solution such as the ones we offer for removing a bird stuck in chimney or sitting in a fireplace. The most creative come up with their own unique solution for a bird stuck in chimney. That’s what Nic did when […]